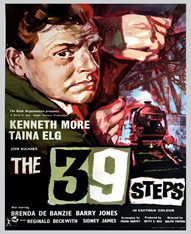
GB 1959 1hr 33mins Dir: Ralph Thomas Starring: Kenneth More and Taina Elg
A diplomat returns home to London, only to become inadvertently embroiled in the death of a British spy
This first remake closely resembles the Hitchcock original but again bears little resemblance to the 1915 novel. However, despite being generally regarded as the poorest of the three film versions in terms of handling and style, this colour film is the best in terms of accuracy and general excellence of the railway scenes. Two advantages that this film has over the original is that the journey north depicts real ECML expresses and the film makers clearly had full co-operation from BR Scottish Region to use the actual Forth Bridge. An A4 Class 4-6-2 on a rake of maroon-liveried BR Mk1’s was run a number of times over the bridge with a flat wagon attached to the rear that was used by the film crew to shoot the back-projection scenes where Kenneth More hangs onto the sides of the coach. Back projection also appears where More is clinging to the girders of the bridge. He eventually escapes through an inspection hatch in the four-foot and, scrambling over steelwork high above the Firth, makes his perilous way down to South Queensferry. In a link with the 1935 film, another boat is seen passing beneath on the waters of the Firth. In these dramatic scenes, More has close encounters with two ex-LNER A3 Class 4-6-2’s, Nos.60147 North Eastern and 60162 Saint Johnstoun. Earlier in the film there are some nice atmospheric shots taken at Edinburgh Waverley station as Kenneth More joins a northbound express hauled by an A4 Pacific. Featured A4’s are No.60012 Commonwealth of Australia, 60024 Kingfisher and 60027 Merlin, and there are some lovely shots of these streamlined beauties. The frontage to London King’s Cross is also seen in the film. With regards to the carriage scenes, those during the journey were a set with the traditional back projection, but there are plenty of good shots of maroon stock of various types at Edinburgh Waverley including Gresley vehicle SC 16277E. An amusing parody of the Forth Bridge scene appears in Carry on Regardless and stock footage of this movie appears in others as well, including Upstairs and Downstairs. The shot of Kingfisher, meanwhile, can also be found in Raising the Wind – all qv.
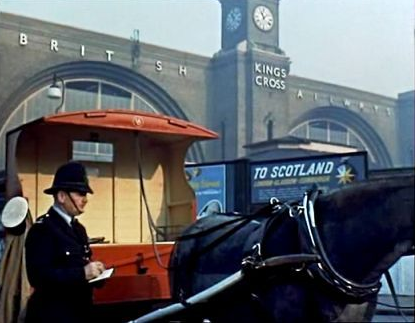
A policeman looks rather confused as he makes note of an abandoned milk cart outside King’s Cross station, clearly not an everyday sight
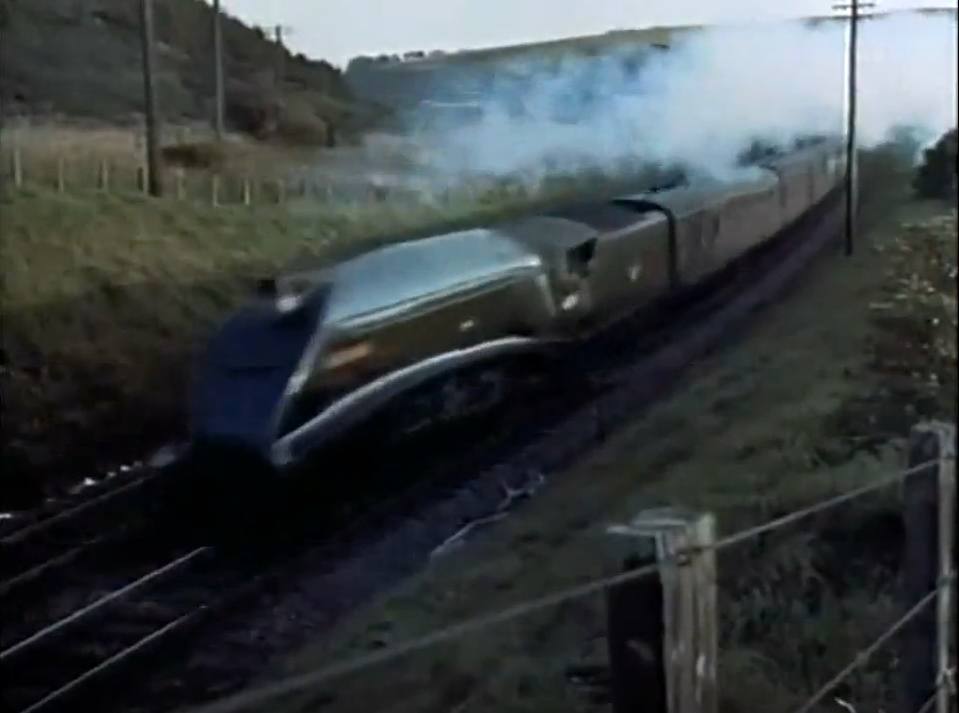
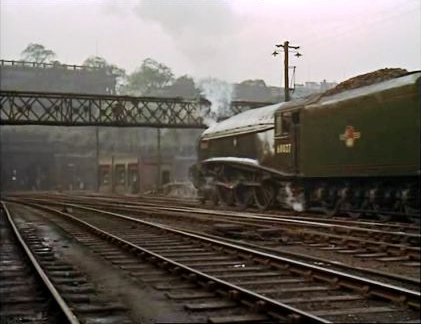
A4 pacific No.60024 Kingfisher sweeps round the bend just south of Penmanshiel Tunnel on the short section of the East Coast route abandoned after the tunnel collapse of 1979. This shot appears in black and white in the film Carry On Regardless, which was released two years after this film in 1961. For Raising the Wind it reverted back to colour!
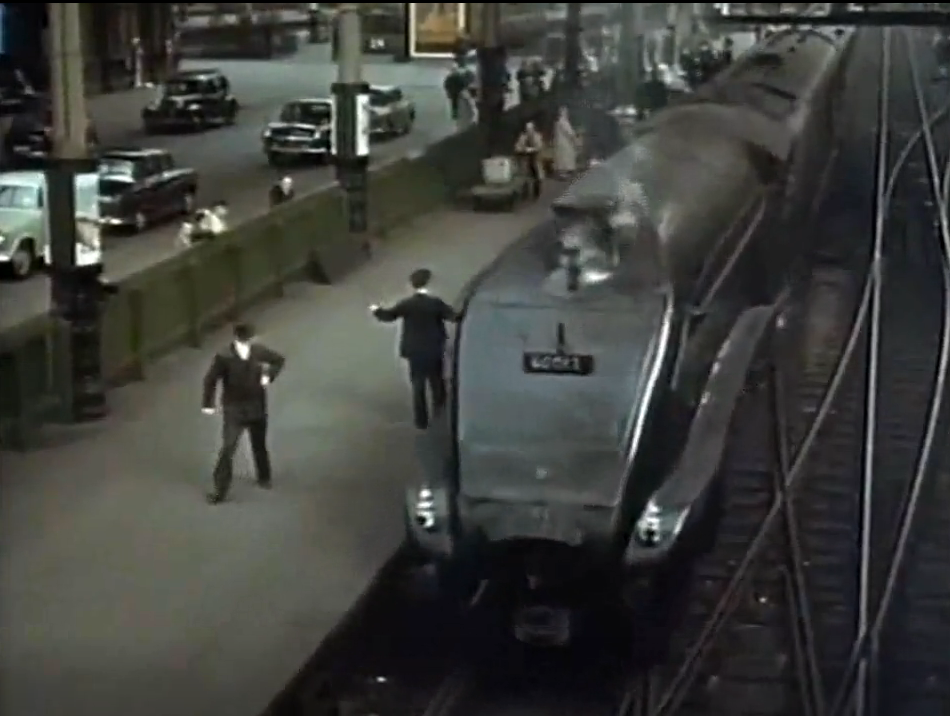
A4 pacific No.60012 Commonwealth of Australia arrives into platform 8 at Edinburgh Waverley, now designated platform 11. Note ‘The Talisman’ headboard.
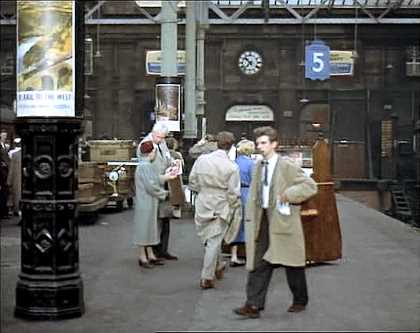
A busy scene on the platforms at Edinburgh Waverley
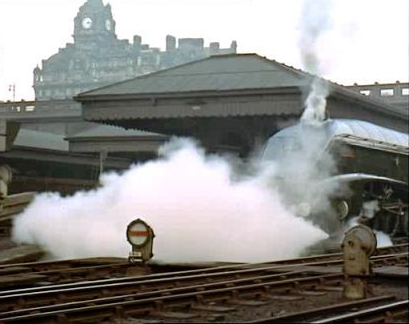
An eager A4, this time No.60027 Merlin, pulls slowly away from Edinburgh Waverley. The imposing clock tower of the former North British Hotel broods in the background.
Merlin makes its way towards the Mound Tunnels visible on the far left
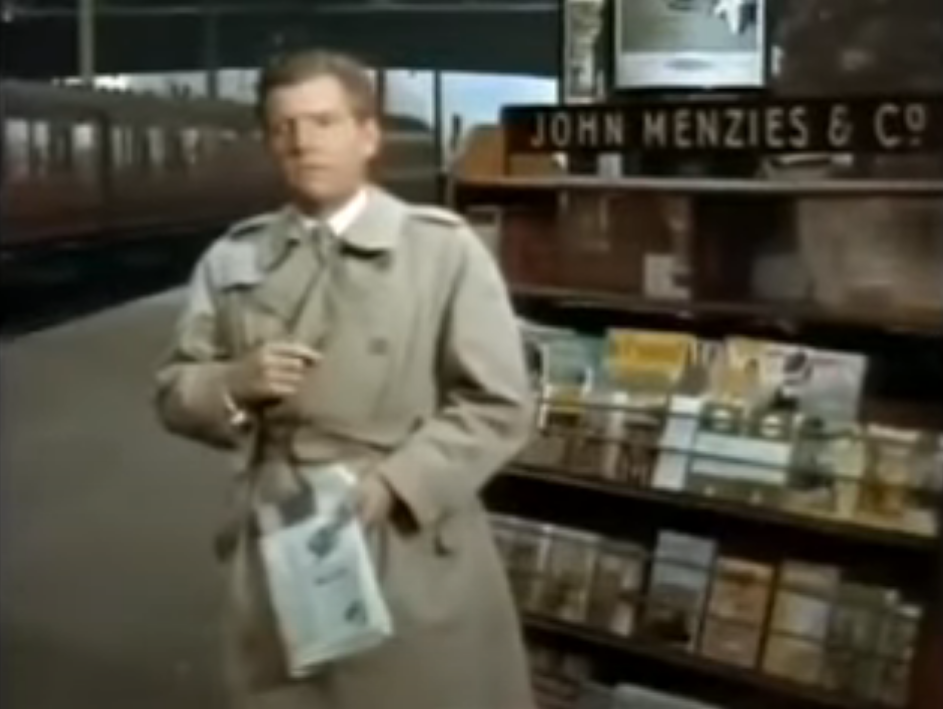
Kenneth More buys a newspaper from a John Menzies stand as maroon-liveried coaching stock stands in the background
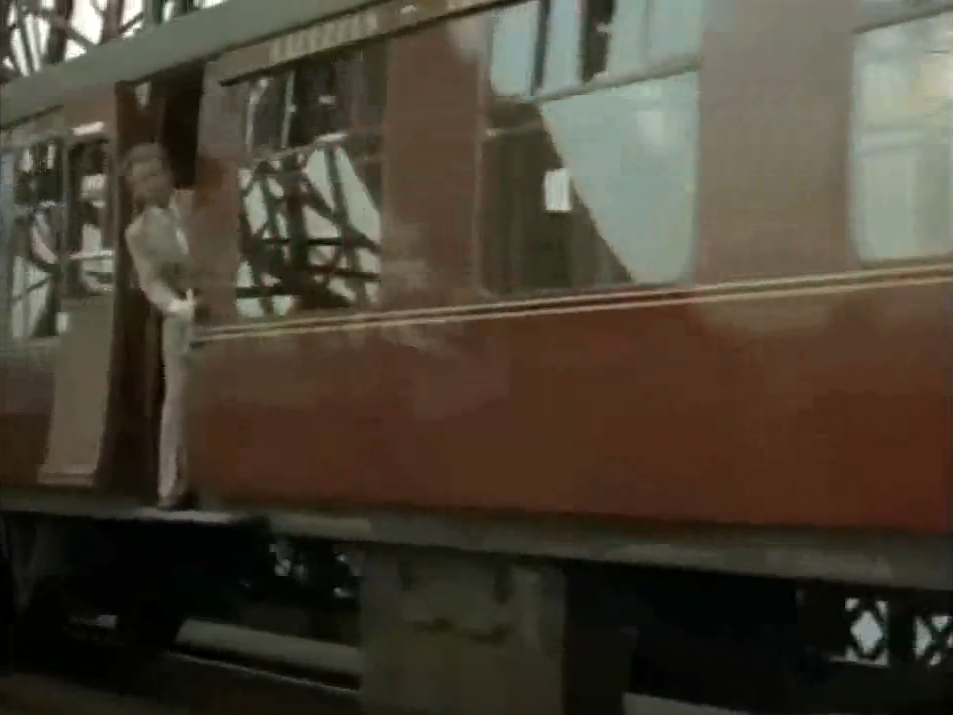
As Kenneth More clings for dear life to the side of a studio carriage, A3 Class 4-6-2 No.60162 Saint Johnstoun passes by as part of the back projection. This shot is another that appears in black and white in Carry On Regardless.
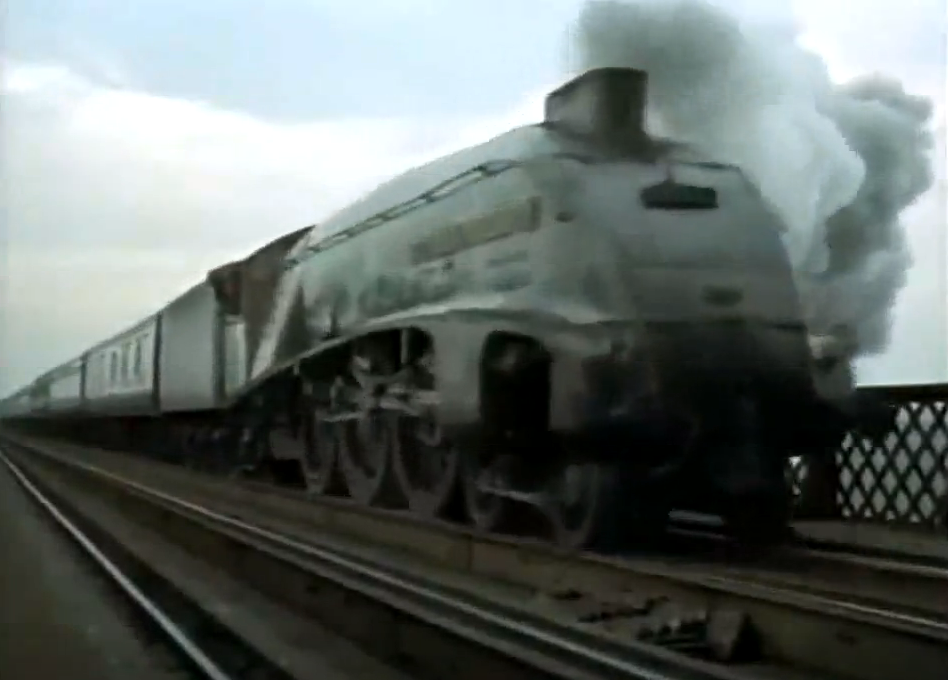
A superb study of 60012 Commonwealth of Australia again as it draws to a stand on the Forth Bridge, its train having had the ‘cord’ pulled. Interestingly, this too appears in Carry On Regardless, but in reverse, and of course in black and white.
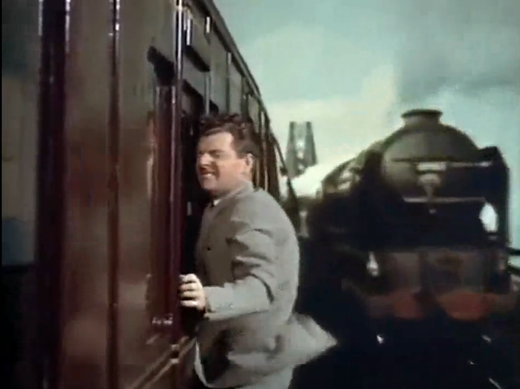
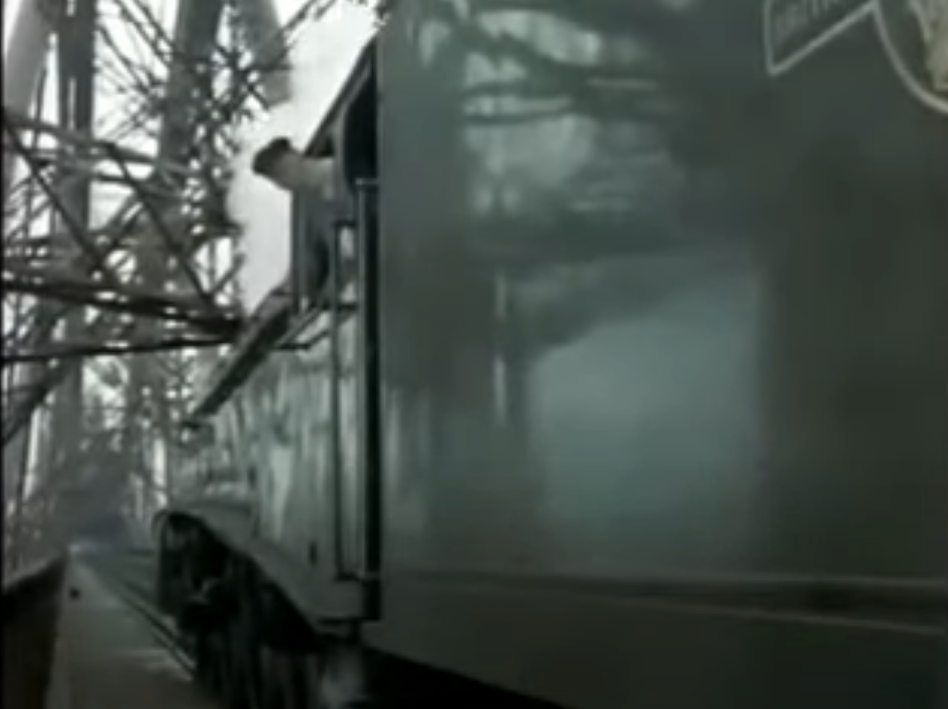
Kenneth More gets ready to decamp from a BR Mk.1 on the bridge. Note the carriage roofboard appear to read Aberdeen.
Having jumped down on to the bridge deck, Kenneth More reaches up and shuts the carriage door behind him. From this angle the train looks vast, yet it is totally overshadowed by the giant Meccano set that is the bridge itself.
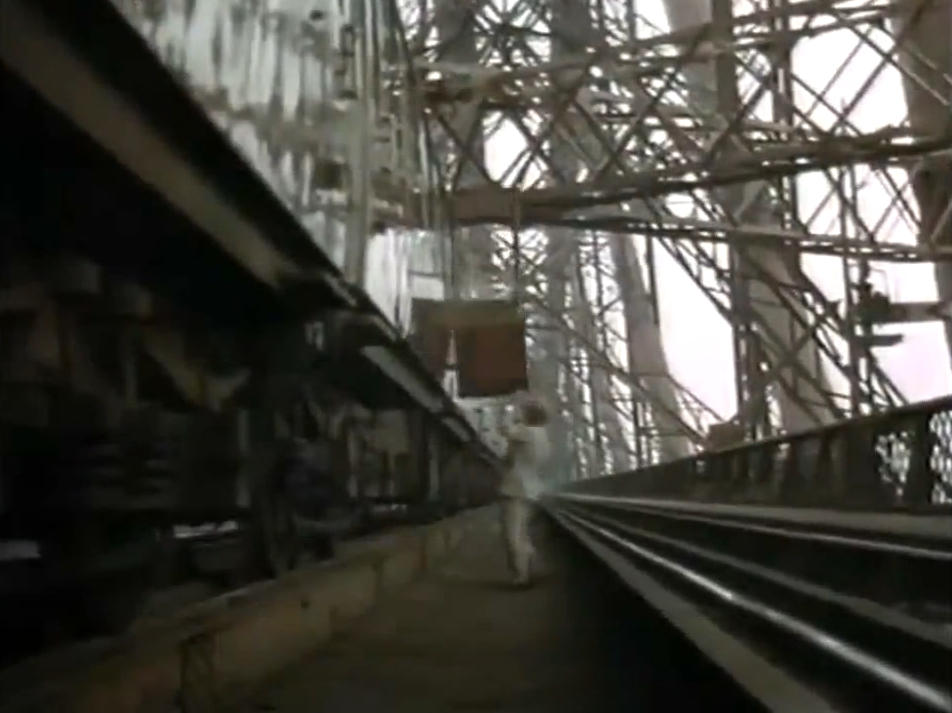
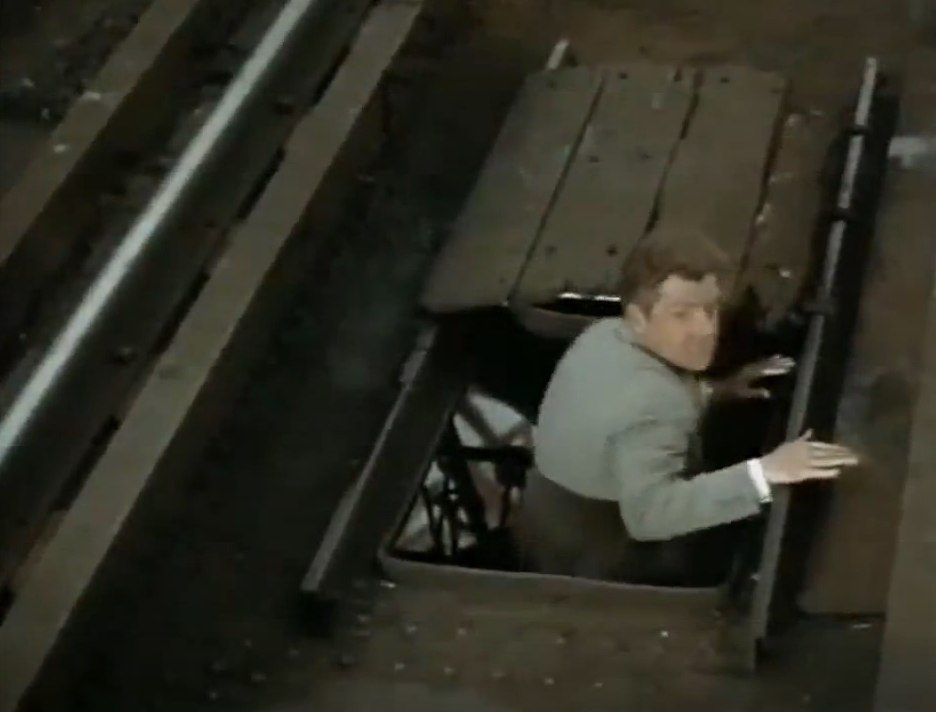
Kenneth More disappears down an inspection hatch in order to evade capture. Desperate men take desperate measures.
Just as he makes his escape another A3 passes on an express, this time hauled by A3 No.60147 North Eastern
60012 Commonwealth of Australia pulls away after its enforced stop
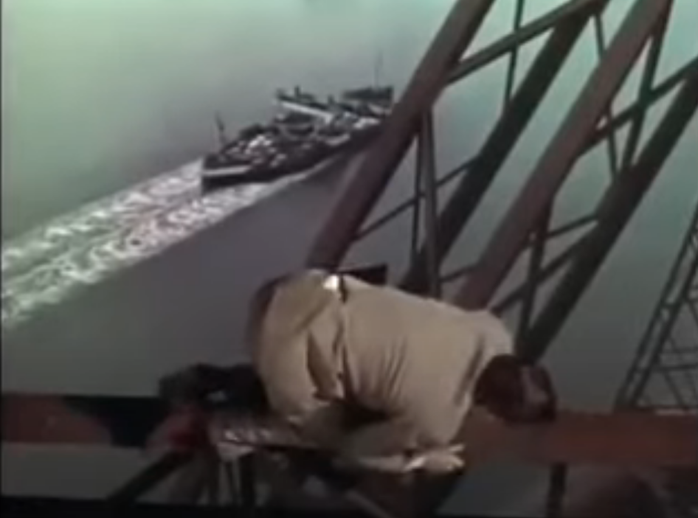
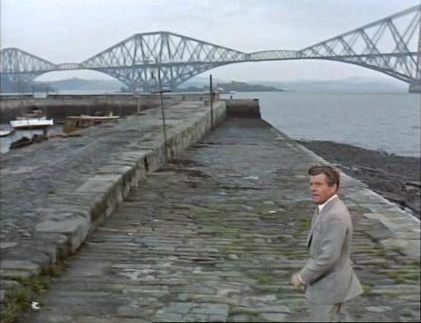
In a link to Hitchcock’s 1935 film, Kenneth More replicates Robert Donat’s escape as a boat passes beneath on the waters of the Firth
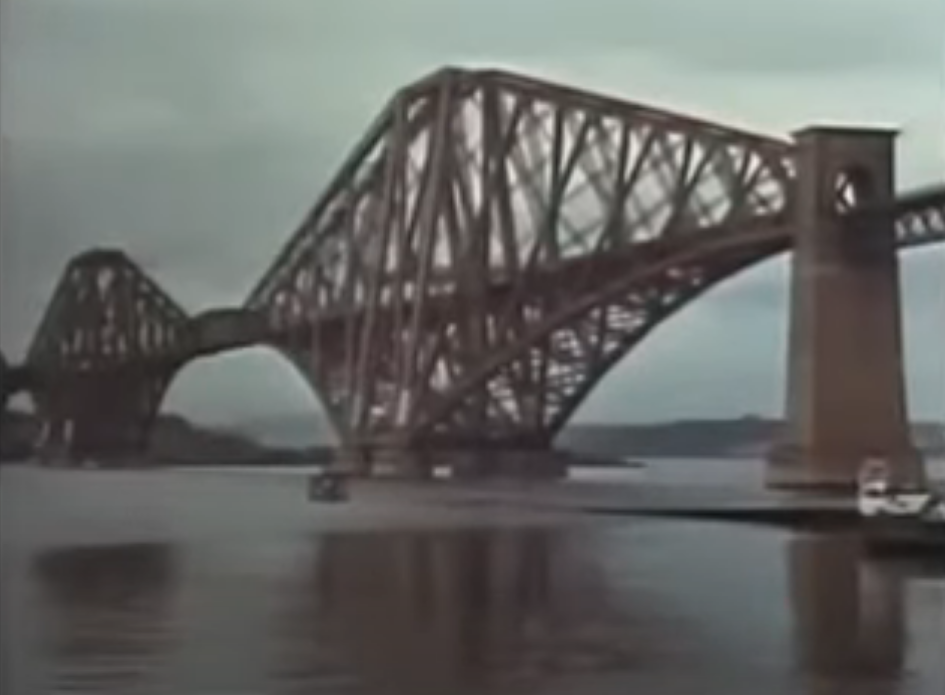
Several good shots of the bridge itself appear at the end of the railway sequence, the first of which this fairly standard view
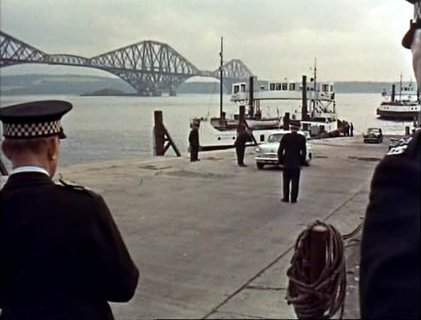
However, this is much more unusual and shows the bridge from the slipway of the Railway Pier in North Queensferry. The ferry ceased operation in September 1964.
Whilst here we view the bridge from Queensferry Harbour in South Queensferry